Discover Top Manufacturer of Insect Killer Machines and Fly Catchers in Coimbatore
In Coimbatore city, WANTRN is now offering sales and service for an Electric fly Catcher machine. The service fee for this insect killer machine is Rs 300/- per unit, with an additional Rs 450/- for onsite servicing. We also provide spare parts such as UV tubes and transformers for existing unit.
When thinking about buying a flying insect killer device, it is essential to account for the cost of the machine. Fortunately, WANTRN provides competitive options for flying insect killer machine price that are accessible for residential and industrial use. By purchasing an insect killer machine from WANTRN, consumers can enjoy a bug-free living space without spending a lot of money.
For individuals looking for a reliable insect killer machine around their location, WANTRNbroad network of suppliers guarantees that these items are readily available throughout India. Regardless of whether they are in cities or in the country, customers can find a dependable distributor to quickly fulfil their needs for insect control.
You can find WANTRN insect killer machines all around Coimbatore to efficiently get rid of pests. Wantrn provides delivery and installation on the same day. These devices utilize different techniques such as UV light or traps to manage insect populations both indoors and outdoors, guaranteeing a pest-free setting.The branch is situated on Vellalore Road. For further details, you can contact them at 07871203000 or 7871703000.
.jpeg)
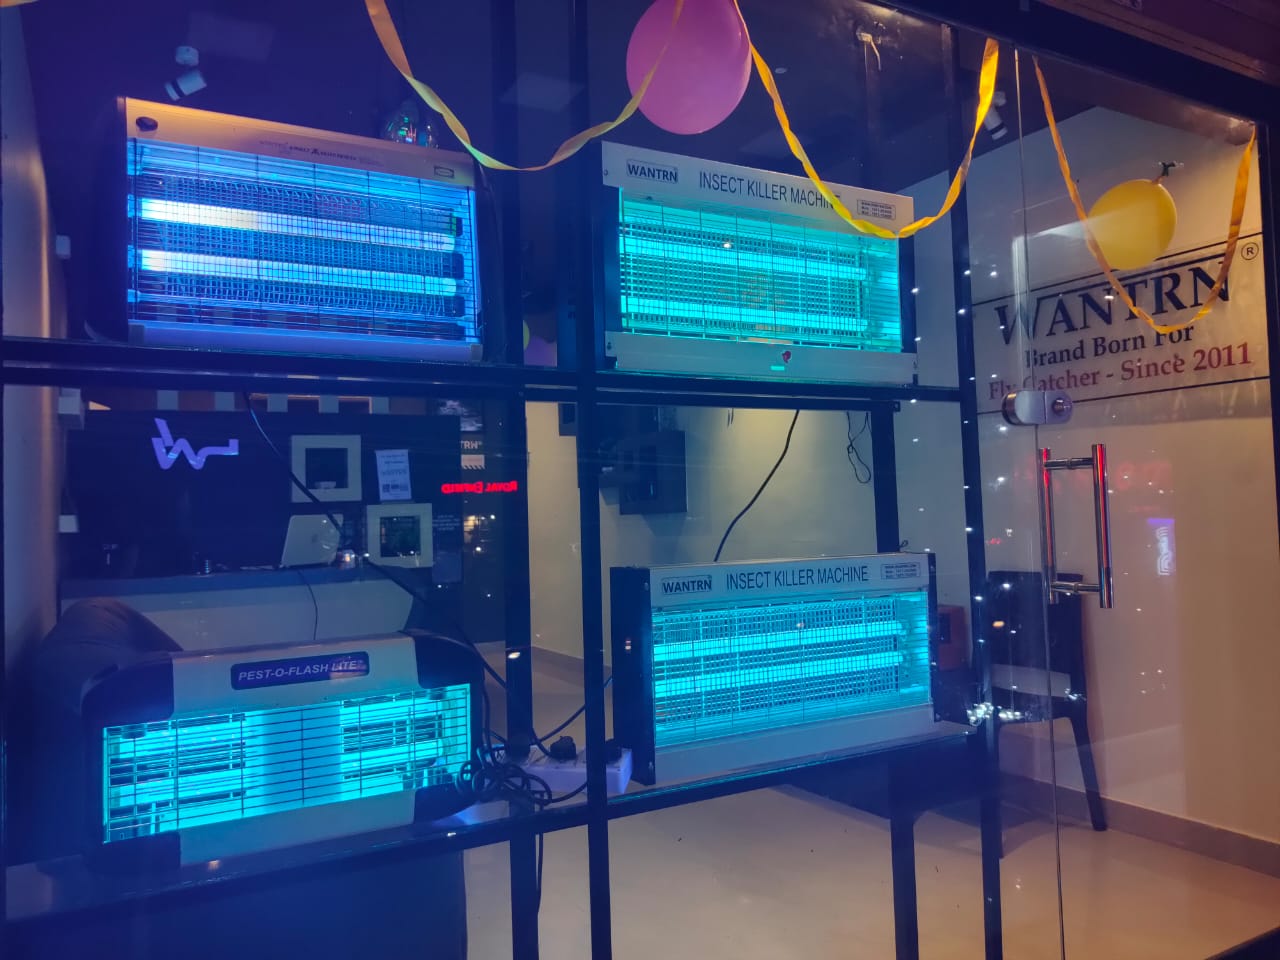
Electric Fly Killer Machine Outlet and Service Center Now at Coimbatore city
Wantrn has recently opened a new outlet near Gandipuram, next to the Women's Polytechnic bus stop in Coimbatore. This location near by Gandipuram Main bus stand
At our outlet, you can find various models of fly killer machines, including electric flying insect killers and mosquito killer machines. We also provide service availability for your existing machines, ensuring that you have access to effective pest management.
As a leading supplier of insect killers in Coimbatore, we offer competitive prices and the latest fly catchers. Our machines are designed to attract and trap flying insects, making them a must-have for anyone dealing with pests.
We pride ourselves on offering superior quality electric fly catchers. If you are looking for the best fly killer products and effective mosquito traps, look no further.
Visit us today to our outlet and discover why we are the top choice for pest control in Coimbatore!
Types of Fly Catcher Machines in Coimbatore
In Coimbatore, there are many options for fly catcher that are available. Some common options include:
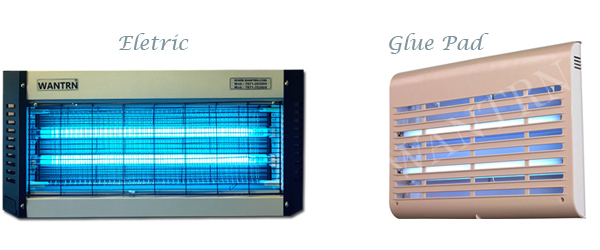
1. Wantrn Electric Fly Killer - This is an effective machine that can remove flies from outdoor locations quite efficiently.
2.
Glue Pad Sticky Fly Catcher - This effective machine can remove flies
from indoor locations without the need for any chemicals.
3. Double
Side Fly Catcher - Used mostly in supermarkets, this is a highly
effective machine that covers a very large area and effectively attracts
flies.
Overall, fly catcher machines in Coimbatore come in a range of specifications and features designed to cater to different settings and requirements.
Dual-sided fly Catcher Machine for ultimate pest control efficiency
The most efficient dual-sided fly-catcher is equipped with double doors, two UV lamps, and one glue pad inside each door. You can hang this device in the center of your space to cover both the front and back areas. It operates silently and odorlessly while effectively killing insects.
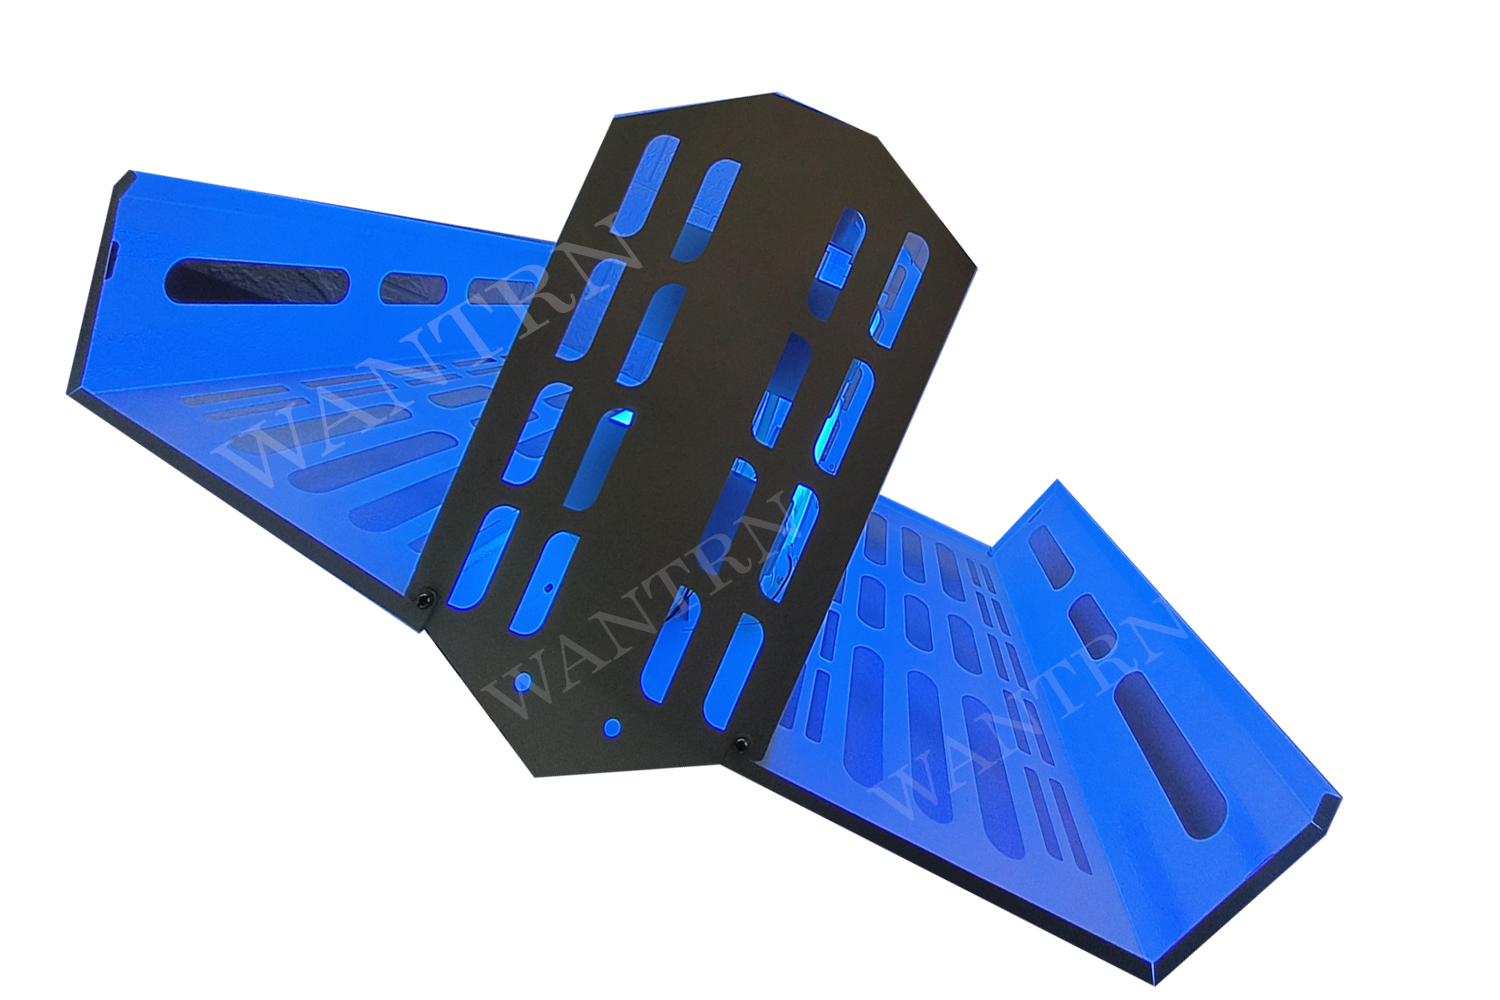
2024 witnessed the launch of a brand-new insect-killing product
Double Side Coverage. Sporting a double-sided door feature, 15W*2 UV lamp at each side, combined with 4 tubes and 2 glue pads, this machine is tailored to attract and annihilate flying insects. Its large coverage space makes it a perfect fit for spacious room such as hotel, café, supermarket, and some other commercial places in need of insect control. This amazing machine will serve as a dependable remedy to keep an area clean and make sure no more flies can ambush
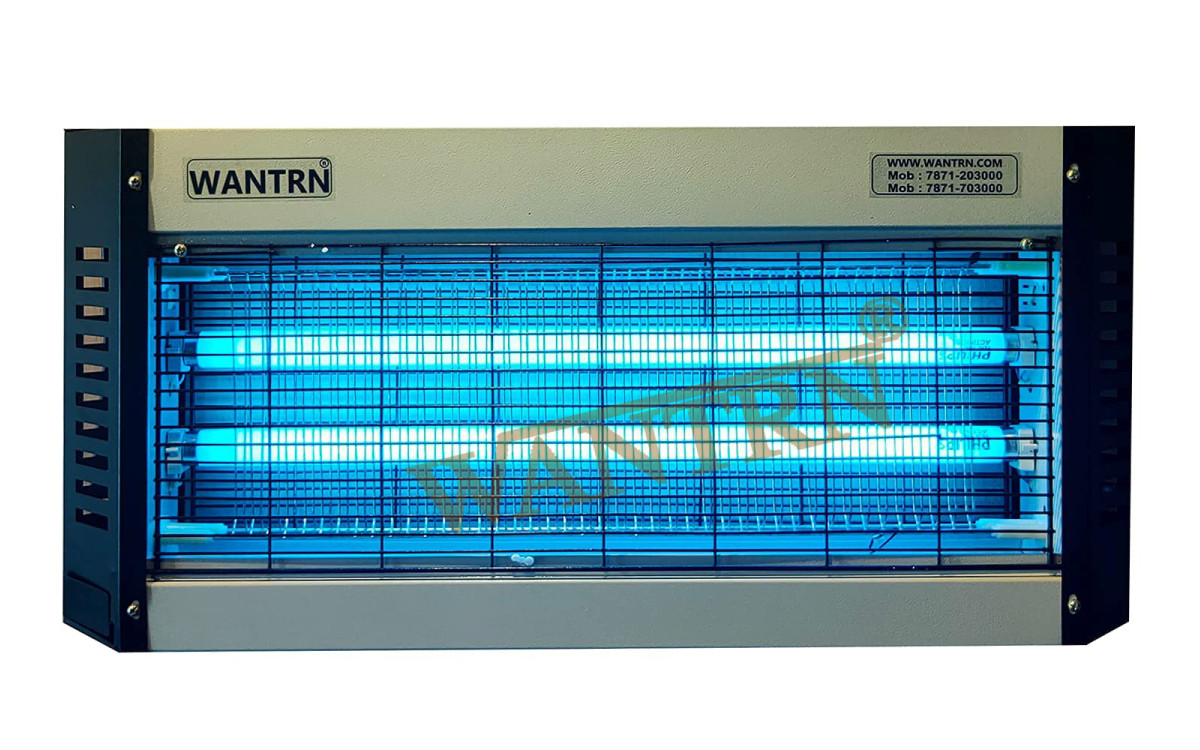
What are the main features of a Fly Catcher machine?
The
fly insect killer plays a very important role in the control of flying
insects and pests. With the multiple products of a fly killer machine it
does pest control very effectively. There is also a wide range of fly
killer that one can use depending on what kind of fly one is battling.
Types of fly killers available
The fly killer machine available in the market will allow you to choose the most suitable for your requirement since there are many options to choose from and these include all kinds of models i.e. electric insect killers, fly catcher, mosquito killer lamps, etc. All these different models have different targets i.e. cater different flying insects and treat the flying pest control requirements for different experiences.
Effective range and coverage
when getting a fly traps is its range and coverage capabilities. The 16W model, for instance, can cover an area of about 100 square feet; on the other hand, the 80W model can cover an area up to 500 square feet. This is very important because this is what determines how effective the fly killer machine will be in eliminating the flies. With a 100 square feet coverage, the 16W model is ideal for small spaces while the 80W model is suitable for large areas owing to its 500 square feet coverage.
Power consumption and efficiency
An electric fly insect killer/torch is a machine that should use less power but deliver proper pest control. By ensuring low power output, the unit can control pests effectively without engaging extra power usage
Leading suppliers of Pest O Flash in Coimbatore
Wantrn
is a top producer of products designed to eliminate flies and insects.
We offer a selection of over 14 different models to choose from. Our
options include 16W models measuring 1 foot, 30W models measuring 1.5
feet, 40W models measuring 2 feet, and 80W models measuring 2.5 feet,
with the option of 4 tubes.
We are able to visit your site to assess your needs and recommend the most suitable model for your specific requirements.
Key Features to Consider When Choosing a Fly Killer Machine Supplier
When selecting a supplier for insect trap or mosquito cathers, it is essential to put the quality and longevity of the machines at the forefront. To be specific, the machines should be durable enough to go through constant usage in different environments, and built to last. High quality machines are necessary in order to carry out an efficient pest control.
In addition, it is vital to consider the after-sales support and services rendered by the supplier. This includes machine maintenance, repairs, technical support to troubleshoot with any machine issues, which are important for machine’s overall performance and long-lasting.
In terms of costs, apart from looking at the initial costs, the long-term costs of machine maintenance and operation must be seriously taken into account. In conclusion, the cost and affordability of the insect and mosquito killer machines must be reviewed before making a purchase of the machine.
.
Availability of fly killer machines in Tamil Nadu
Fly killer machines are not just available in Coimbatore. Wantrn products available many cities and regions in Tamil Nadu. You can be assured of good quality control methods customized to your specifications due to this widespread access.
Comparing prices and features
When deciding to purchase a fly insect killer, it is indispensable that you compare prices as well as features from various merchants including the most recent price.
As for the price, the 16w one is at the price
3690/-, 30w one is available at 4890/- and 40w one is only 5490/-. The
aforementioned prices are provided for reader's reference only, and
might fluctuate on specific model
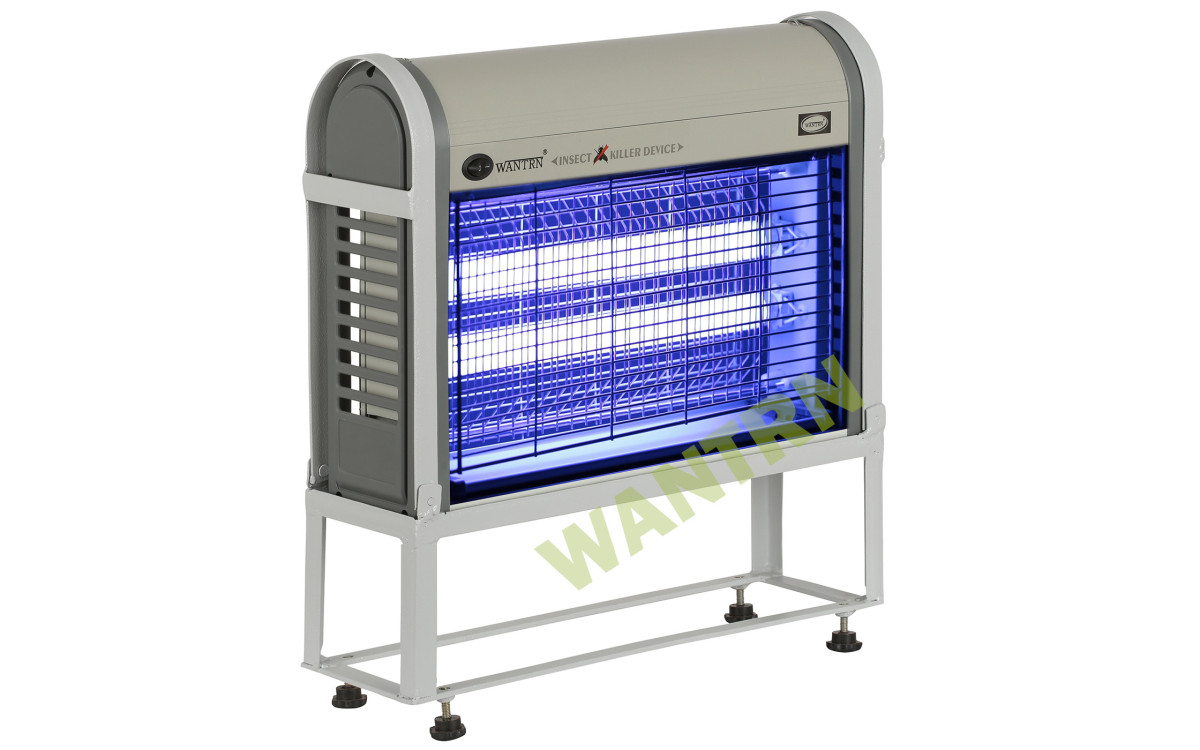
The Pest O Flash flying insect killer with a floor stand Option
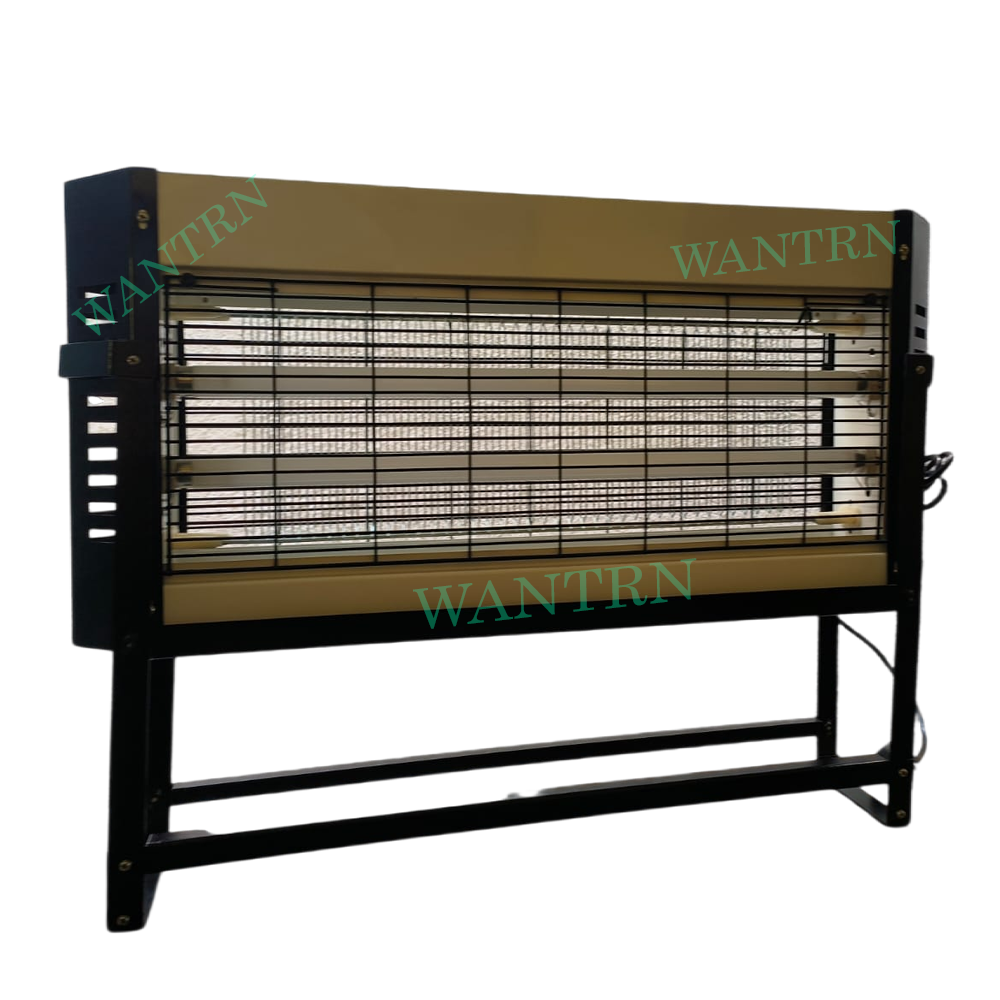
The
Pest O Flash Flying Insect Killer with a floor stand is recommended to
be used in hotels, cafes and bakeries. Manufactured with high quality
design, it is best suited in controlling and eliminating flying pests
such as flies.
The Pest O Flash Flying Insect Killer is very versatile and is recommended for use in a commercial setting. This commercial range model allows for easy placement and in particular due to the stand can be relocated with ease.
The Pest O Flash Flying Insect Killer uses Ultra violet lighting which allows for insects to be attracted to the fly zapper and killed on contact. The Pest O Flash Flying Insect Killer is the ultimate eco-friendly solution for flying pest control.
How does a insect catcher machine work to control bugs?
fly catcher machine attracts house flies to ultraviolet lights and then captured or electrocuted by electric grids. The best way to control or kill house flies is by using a fly catcher machine that does all the work for you.
Price of UV Tube Light for Insect Killer
Wantrn provides a variety of Pest o Flash tube lights in 8W, 15W, and 18W. Prices start at 285/- for the 8W, 340/- for the 15W, and 385/- for the 18W
How frequently do you need to replace the UV tube light in the fly killer?
Electric flying insect killer machines with UV tube lights typically need to be changed every 6-8 months for optimal performance. WANTRN, a leading insect killer machine manufacturer in Chennai and Coimbatore,
Instructions for replacing the UV light in the Pest-O-Flash.
Best Practices for Installing Fly Catcher
Ideal Locations for Installation of insect killer machine - Maintenance Tips
Ideal Locations for Installation: When installing an insect killer machine, it is important to choose the right location to ensure maximum effectiveness. The device should be placed in areas where high insect activity has been noticed, such as near doorways, windows, and outdoor seating places. The closer it is to the biggest entrances to your house, the better it will be at catching those insects as they come in.
Maintenance Tips: Regular maintenance is key to ensuring that your insect killer machine continues to work efficiently. There are several pointers that are crucial to remember: clean the unit at regular intervals to prevent the accumulation of dead insects, replace the UV bulbs when necessary, It is also important to follow the manufacturer's guidelines for maintenance to prolong the lifespan of the machine.
Where is it possible to purchase an insect killer machine in Coimbatore? Additionally, is a service provided for maintenance and repair of the machine?
Wantrn Brand provides a range of products for controlling flies, including fly catchers, fly killers, electric insect killers, pest o flash machines, UV lamps, and transformers. These items and their spare parts are available at the Wantrn outlet in the Podanur Mahalingapuram area. Additionally, we offer servicing for your current fly killer machine.
Top Manufacturers/Distributors of Insect Killer Machines in Coimbatore
WANTRN is a prominent brand located in Coimbatore that specializes in providing electric insect killers, fly catchers, glue pad insect killers, pest o flash light, spider machine, mosquito killer machine, and spare parts such as UV lamps and transformers for existing machines. We offer a diverse selection of 14+ fly killer machines.
Flycatcher can be Installed all over Coimbatore and Tirupur
We
are able to inspect your location and provide suggestions on the most
suitable insect killer model. Furthermore, our technical experts can
advise on the optimal positioning of the machine to ensure optimal
results.
WANTRN Provides services for electric insect killer all over coimbatore
- The variety of electric mosquito killers that our company offers is suitable for both indoor and outdoor usage. We focus on producing mosquito killer machines that effectively and without risk eliminate mosquitoes and other flying insects. Our customers are our priority, so we make sure that our products are produced with highest quality materials.
- If you need a mosquito killer for your house, office or for outdoor recreational area Our atomizers are a great choice. Depending on what you need, they are produced in various sizes.
- We believe that satisfied customer is
successful customer. We want to make sure that our customers are
satisfied with our products and services, therefore We focus on
providing the highest quality products, professional customer service
and very short time of preparation.
Flying Insect Killer Quick Onsite Service in Coimbatore
insect killer machine services prices vary based on the service type you need– 300 Rs for general services and custom works by quotation. We offer a range of services to meet every customer's unique needs.
The Best Indoor and Outdoor electric insect killers in Coimbatore
In Coimbatore, a variety of electric insect killers are available from numerous manufacturers and dealers, The top range of insect killer models are designed to cater to different needs, ensuring that customers can find the right product for their specific requirements. Whether you are looking for a powerful insect killer for commercial use or a more compact model for home use
Whether you need electric flying insect killer or Glue pad insect trapper
Our dedicated team will visit your location to assess your needs and recommend the most suitable insect killer machine for your specific requirements . We understand the importance of selecting the right product for effective pest control, and our experts are here to assist you. To schedule a visit, please click the link and fill out the enquiry form, and we will promptly get back to you with the necessary details.
Fly Killer Machine Sales & Service Outlet in Coimbatore